
SUBSCRIBE TO OUR BLOG
Subscribe to get special offers, free giveaways, and once-in-a-lifetime deals.Plaster casting is a popular technique used in various art and craft projects. Whether you're a beginner or an experienced artist, there are always ways to improve your plaster casting skills and create stunning and professional-looking casts. In this article, we will guide you through the essential steps and provide valuable tips to help you elevate your plaster casting technique.

Key Takeaways:
- Properly mix the plaster to water ratio for strong and bubble-free castings.
- Choose the right plaster, like CastRite Plaster, for quick curing and durable castings.
- Create a suitable mold for your project, considering the type and complexity of the sculpture.
- Tap the mold gently to release air bubbles before letting the plaster dry.
- Finish the plaster casting by removing rough edges and applying an appropriate sealant.
Why Plaster of Paris Casting?
Plaster of Paris is a versatile and widely used material for casting, offering numerous advantages that make it a top choice for artists and crafters. Whether you're working on a small hobby project or a large-scale production, plaster casting with Plaster of Paris provides several benefits that set it apart from other casting materials.
Advantages of Plaster Casting
- Low-Cost Casting Material: Plaster of Paris is an affordable option, making it accessible to artists and creators of all budgets. Its low-cost nature enables you to experiment and explore your creativity without breaking the bank.
- Simple to Use Mold Making Material: All you need is water and a mixing bucket to prepare plaster. It is that easy to use.
Furthermore, Plaster of Paris is known for its ease of use. It requires only the addition of water to create a workable mixture, simplifying the casting process and making it suitable for both beginners and experienced craftsmen.
Suitable for Various Projects
Plaster of Paris casting is incredibly versatile and can be used for a wide range of creative projects. Its flexibility allows for the casting of intricate details, making it ideal for reproducing delicate sculptures, decorative items, and ornamental pieces.
Here are just a few examples of projects where Plaster of Paris casting can be applied:
- Theater Backdrops: Plaster of Paris can be used to create stunning theater backdrops, adding depth and texture to stage designs.
- Toys and Figurines: Plaster casting enables the production of detailed toys and figurines, making it a popular choice in the toy industry.
- Home Decor and Crafts: Plaster of Paris opens a world of possibilities for home decor and craft projects. From creating unique wall plaques to designing custom candle holders, the options are endless.
With Plaster of Paris, you can bring your artistic vision to life and achieve remarkable results. Its affordability, reusability, and versatility make it a top choice for both professional artists and hobbyists alike.
Check out the image below to see the incredible possibilities of Plaster of Paris casting:
Choosing the Right Plaster for Casting
When it comes to casting with plaster, selecting the appropriate type of plaster is essential. Two highly recommended choices for achieving strong and durable castings that cure quickly are CastRite Plaster and Qwickast Plaster Additive.
CastRite Plaster has a working time of 15 minutes, a demold time of 1 hour, and a complete cure time of 24 to 48 hours. It offers excellent quality and reliability in creating exquisite castings. With its fast-curing process, you can move forward with your projects efficiently.
Qwickast Plaster Additive is another valuable option that enhances ordinary Plaster of Paris. By incorporating the additive, you can improve the strength of your castings and eliminate any softness on the surface. This additive brings exceptional results, ensuring that your castings are solid and durable.
The Advantages of CastRite Plaster and Qwickast Plaster Additive:
- Strong and hard castings
- Quick curing time
- Improved strength
- Surface softness elimination
To enhance your casting experience and achieve remarkable results, consider using CastRite Plaster or incorporating Qwikast Plaster Additive for improved outcomes. These high-quality materials will elevate your plaster casting projects to new heights.
| Plaster Type | Working Time | Demold Time | Complete Cure Time |
| CastRite Plaster | 15 minutes | 1 hour | 24-48 hours |
| Qwickast Plaster Additive | NA | NA | NA |
Steps for Mixing Plaster for Casting
Properly mixing plaster is crucial for achieving successful castings. Whether you're creating a sculpture or a decorative piece, following the right steps will help you achieve smooth and bubble-free results. Here are the key steps to mixing plaster for casting:
- Start with the ideal plaster to water ratio: For Plaster of Paris, the recommended ratio is 3 parts plaster to 1 part water. This ratio ensures a proper consistency for easy pouring and setting.
- Slowly add the plaster to the water: To avoid the formation of air bubbles, it's important to add the plaster slowly to the water. This allows for even distribution and thorough mixing.
- Gently mix the plaster: Use a stirring stick or a mixing tool to gently stir the plaster and water mixture. Avoid vigorous stirring, as it can introduce more air bubbles into the mixture.
- Continue mixing until smooth: Mix the plaster until you achieve a smooth and homogeneous consistency. Make sure there are no visible clumps or lumps in the mixture.
- Reduce air bubbles: To further reduce air bubbles, tap the container gently on a solid surface. This helps dislodge any trapped air pockets within the mixture.
By following these steps, you'll be able to prepare a well-mixed plaster for your casting project, ensuring the best possible results.
Reducing Air Bubbles in Plaster Casting
Air bubbles can be a common issue when casting with plaster. They can create imperfections on the surface of your cast and affect the overall quality of the final piece. Here are a few additional tips to help you reduce air bubbles:
- Use as little water as possible: While maintaining the ideal plaster to water ratio, try to use the minimum amount of water required to achieve a pourable consistency. Less water helps reduce the likelihood of air bubbles forming in the mixture.
- Pour the plaster slowly and evenly: When pouring the plaster into the mold, do it in a slow, controlled manner. This allows the plaster to fill the mold evenly and minimizes the chances of air bubbles getting trapped.
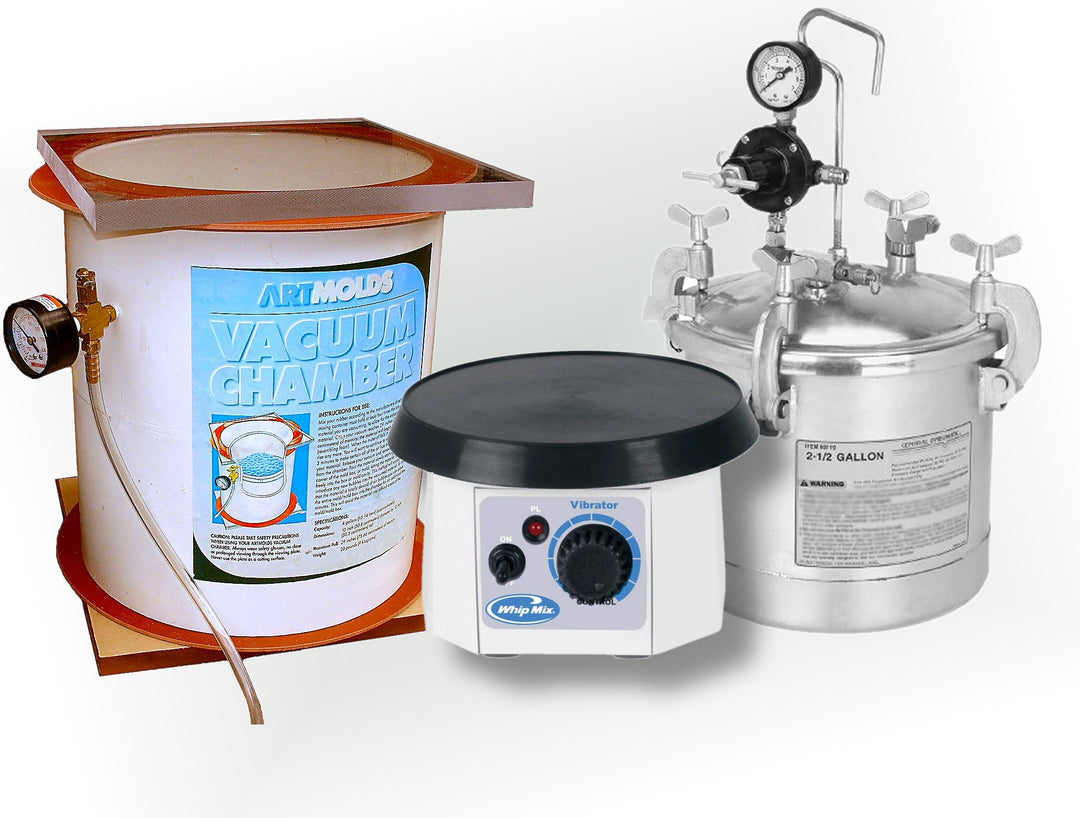
- Remove visible air bubbles: After pouring the plaster, gently tap the mold or use a vibrating tool to remove any visible air bubbles on the surface. This technique helps dislodge trapped air and promotes a smoother finish.
By implementing these strategies, you'll be able to minimize the presence of air bubbles in your plaster castings, resulting in higher-quality and more professional-looking pieces.
Creating the Mold for Plaster Casting
Before pouring the plaster, a mold needs to be created. There are different types of molds that can be used for plaster casting, including waste molds, single-piece molds, and multi-piece molds. Each type of mold has its own advantages and suitability for different projects.
Waste Molds
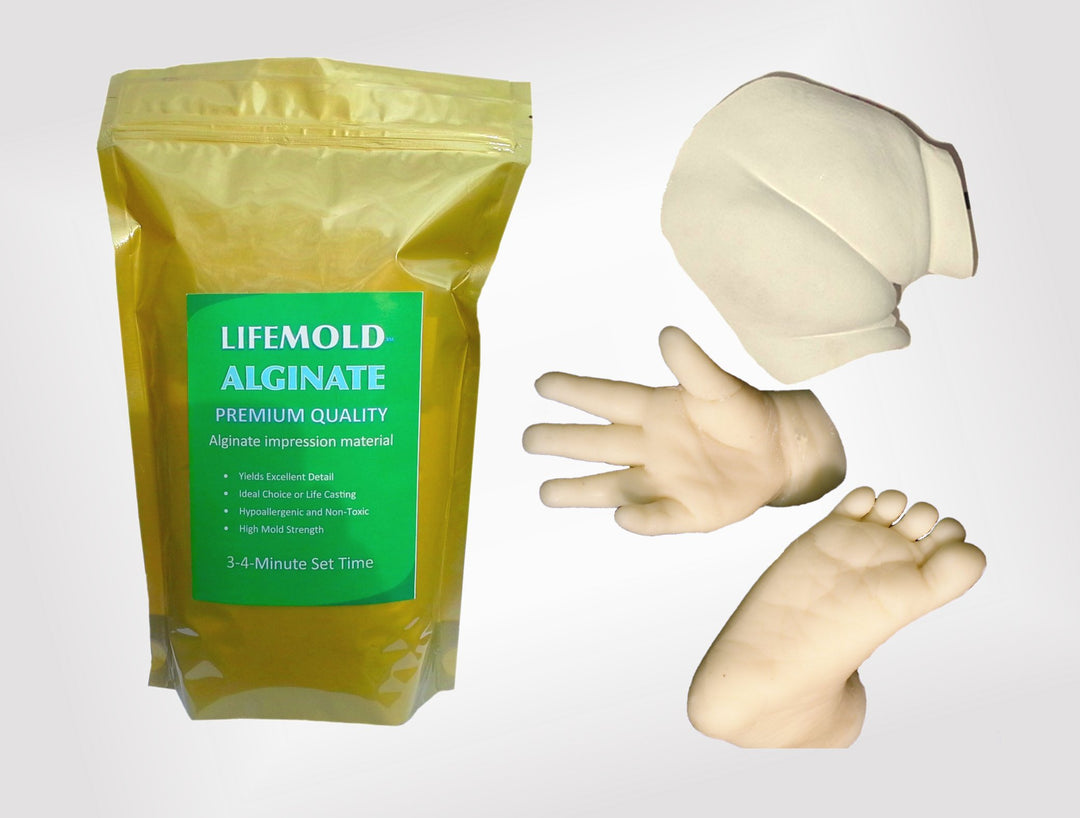
Waste molds are suitable for soft masters made from materials like wet clay or wax. These molds can only be used once since they are destroyed during the casting process. Waste molds are often used for one-of-a-kind sculptures or designs that are not intended to be reproduced. The material is typically made from alginate such as MoldGel impression material. The process involves creating the mold directly over the master, pouring the plaster, and then removing the mold after the plaster has cured.
Single-Piece Molds
Single-piece molds are commonly used for flat or relief pieces. These molds consist of a single cavity and are created by pouring the mold material directly onto the master. Once the mold has cured, the plaster can be poured in, and after it sets, the mold is removed to reveal the casting. Single-piece molds are relatively simple to make and are suitable for projects that do not require complex shapes or intricate details.
Multi-Piece Molds
Multi-piece molds are used for more complex sculptures that cannot be easily removed from a single mold. These molds consist of multiple pieces that fit together to create the final mold. Each piece is created separately, and the master is removed by disassembling the mold. The plaster is then poured into the assembled mold, resulting in a detailed and accurate casting. Multi-piece molds are time-consuming to make but allow for greater versatility and the ability to create more intricate designs.
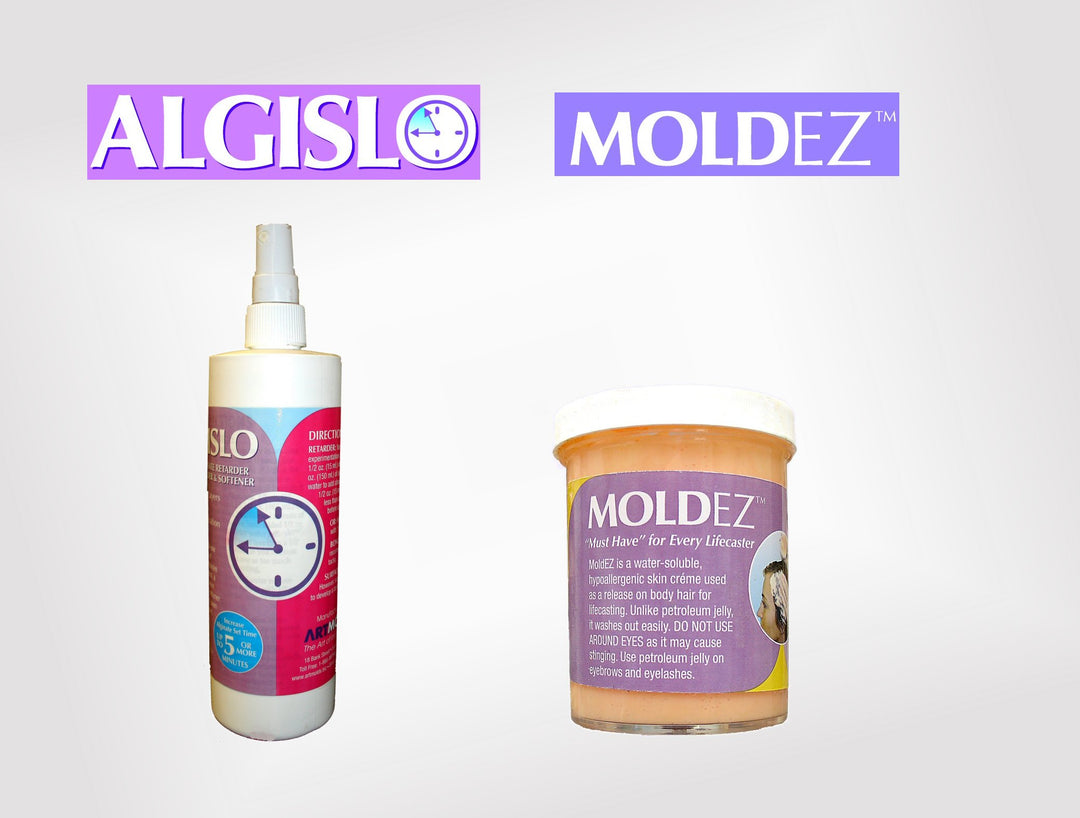
When creating the mold, it is important to use a release agent on the master or original sculpture. A release agent, such as petroleum jelly or silicone spray, prevents the plaster from sticking to the master, making it easier to remove the mold once the casting is complete.
|
Mold Type |
Advantages |
|
Waste Mold |
Suitable for soft masters, one-time use |
|
Single-Piece Mold |
Easy to make, suitable for flat or relief pieces |
|
Multi-Piece Mold |
Allows for complex shapes, detailed designs |
Pouring Plaster into the Mold
Once the mold is prepared, it's time to pour the plaster into it. This step is crucial to create a solid and well-formed casting.
To begin, position the mold on a level surface and make sure it is stable. Then, slowly pour the plaster mixture into the deepest part of the mold. The consistency of the mixture should be pourable but not too thin.
While pouring the plaster, it's important to tap the mold gently on all sides. This tapping helps to release any trapped air bubbles and ensures smooth and bubble-free castings. Be careful not to tap too forcefully as it may damage the mold or affect the quality of the casting.
Once the plaster has been poured and the tapping is complete, allow the cast to dry for a minimum of 1 hour. This drying time allows the plaster to harden and set properly. However, for a complete cure, it is recommended to wait for 24-48 hours before removing the cast from the mold.

Finishing the Plaster Casting
After the cast has fully dried, it is time to give it a professional finish to achieve the desired results. This involves cleaning the plaster cast, removing any rough edges, and optionally, painting the plaster casting for added visual appeal.
Cleaning the Plaster Cast
To ensure a clean and polished finish, start by removing any excess plaster or debris from the surface of the cast. This can be done using a soft brush or cloth. Take care not to apply too much pressure, as it may damage the delicate details of the casting.
Removing Rough Edges
Next, inspect the edges of the plaster casting for any rough or uneven areas. These can be carefully smoothed out using stainless steel modeling tools. Gently run the tools along the edges, gradually filing away any imperfections. Take your time and work slowly to achieve a smooth and even finish.
Painting the Plaster Casting
If you want to add a touch of color or enhance the aesthetics of the plaster casting, painting is an excellent option. Before painting, it is important to seal the surface with a layer of gesso or primer. This helps create an even base and improves the adhesion of the paint.
Once the surface is sealed, you can proceed to paint the plaster casting using acrylic paints or any other suitable paint type. Apply thin layers of paint, allowing each layer to dry completely before applying the next. This technique helps prevent the paint from smudging or running.
A close-up view of a person's hand holding a paintbrush, delicately applying different shades of paint onto the surface of a plaster casting. The brushstrokes are smooth and precise, with careful attention paid to the finer details and texture of the casting. In the background, there are various tubes of paint and mixing palettes scattered around the workspace. The overall tone is focused and professional, but also creative and expressive.
Remember, painting the plaster casting is optional and depends on your personal preference and the desired outcome of your project.
By following these steps, you can ensure that your plaster casting is beautifully finished and ready to be displayed or incorporated into your art and craft projects.
Caring for Plaster Molds
Proper care and maintenance of plaster molds are essential for their longevity. To ensure that your plaster molds remain in good condition and produce high-quality casts, follow these maintenance tips:
1. Keep molds away from moisture
Moisture can cause damage to plaster molds, leading to cracks and deterioration. It is important to keep your molds dry at all times. Store them in a cool and dry environment, away from areas prone to moisture, such as basements or bathrooms. Avoid exposing the molds to excess humidity or water, as it can weaken the plaster and degrade the mold's integrity.
2. Store molds in a cool and well-ventilated area
Plaster molds should be stored in a cool and well-ventilated area to prevent the buildup of heat and humidity. Excessive heat can cause the plaster to become brittle, resulting in mold breakage or poor-quality casts. A well-ventilated space will allow air circulation, preventing the molds from developing musty odors or mold growth.
3. Secure multi-piece molds tightly
If you are using multi-piece molds, ensure that the individual mold pieces are securely bound together. This will prevent any shifting or misalignment of the mold during storage, reducing the risk of damage. Use rubber bands, cling film, or other suitable materials to hold the pieces together tightly.
By following these tips, you can maintain the quality and durability of your plaster molds, allowing them to be used for multiple casting projects.
| Benefits of Maintaining Plaster Molds | Proper Maintenance Practices |
| 1. Prolongs mold lifespan | - Keep molds away from moisture- Store molds in a cool and well-ventilated area- Secure multi-piece molds tightly |
| 2. Ensures consistent casting quality | - Regularly inspect molds for any signs of damage- Clean molds after each use- Repair any minor damages promptly |
| 3. Saves time and money | - Prevents the need for frequent mold replacements- Reduces the risk of casting failures- Minimizes the need for extensive mold repairs |
Safety Precautions for Plaster Casting
When working with plaster casting, it is important to prioritize safety to ensure a smooth and secure process. By following these safety measures, you can protect yourself and avoid potential hazards.
- Wear protective gear: Always wear a dust mask and latex gloves when handling plaster. This will help protect your respiratory system from inhaling fine plaster dust and prevent direct contact with the plaster, which can irritate the skin.
- Avoid pouring plaster down the drain: Dispose of any excess plaster responsibly by allowing it to harden and then disposing of it in the trash. Pouring wet plaster down the drain can lead to plumbing issues.
By wearing the appropriate safety gear and properly disposing of excess plaster, you can ensure a safe and enjoyable plaster casting experience.
Incorporating Safety into Your Casting Workspace
Creating a safe and well-organized workspace is essential for a successful plaster casting project. Here are a few additional safety tips to consider:
- Work in a well-ventilated area: Plaster casting can release dust particles into the air, so it's important to have proper ventilation. Open windows or use a fan to circulate fresh air.
- Keep your workspace clean: Clutter can lead to accidents. Keep your workspace tidy and free from any trip hazards to ensure a safe working environment.
- Have a first aid kit nearby: Accidents can happen, so it's always a good idea to have a first aid kit readily available in case of minor injuries.
By implementing these safety precautions and maintaining a clean and organized workspace, you can enjoy the art of plaster casting while minimizing any potential risks.

Plaster Casting: Tips and Tricks
Are you looking to enhance your plaster casting technique? Here are some valuable tips and tricks to help you achieve outstanding results:
- Use Less Water for Stronger Casts: When mixing your plaster, try using less water to create a thicker mixture. This will result in stronger casts with improved structural integrity.
- Add Colorants for Colored Plaster: Are you tired of plain white casts? Add colorants to your plaster mixture to create vibrant and eye-catching colored casts. Experiment with different pigments and dyes to achieve the desired hues.
- Seal the Surface before Painting: Before adding colors to your plaster casting, take the time to seal the surface with a coat of acrylic paint. This step ensures better adhesion and prevents the plaster from absorbing too much paint, resulting in a more even and vibrant finish.
- Use a Release Agent on the Mold: To ensure easy removal of your plaster cast from the mold, apply a release agent before pouring the plaster. This helps prevent the plaster from sticking to the mold and ensures clean and seamless castings.
- Properly Clean the Mold after each use: After each casting, it is essential to clean the mold thoroughly. Remove any residual plaster and ensure the mold is free from any debris or contaminants. This will prolong the lifespan of your mold and ensure consistent results.
These tips and tricks will elevate your plaster casting game and help you create stunning and professional-looking castings. Remember to experiment, be creative, and most importantly, have fun! Now, let's take a look at a practical example of using less water for stronger casts.
Practical Example: Using Less Water for Stronger Casts
A hand holding a plaster mold with intricate details, using a small brush to carefully apply a layer of petroleum jelly as a release agent. Another hand is pouring the plaster mix into the mold, ensuring no air bubbles are trapped inside. In the background, various types of tools such as chisels and sandpaper are scattered, ready to be used for finishing touches. The overall tone of the image should convey precision and attention to detail.
In this example, we'll demonstrate how using less water in your plaster mixture can result in stronger casts. By reducing the water content, the plaster mixture becomes thicker, leading to increased strength and durability.
| Plaster to Water Ratio | Water (in ml) | Plaster (in g) | Strength of Cast |
| Standard Ratio (1:3) | 100 | 300 | Weaker |
| Reduced Water (1:2.5) | 80 | 200 | Stronger |
| Minimal Water (1:2) | 60 | 120 | Strongest |
By gradually reducing the water content in your plaster mixture, you can achieve casts with significantly improved strength. Remember to adjust the amount of plaster accordingly to maintain the proper ratio. With this technique, you can confidently create more durable and long-lasting plaster castings for your artistic projects.
Conclusion
Plaster casting is a versatile and affordable technique that allows artists and craftspeople to create impressive and intricate casts for a variety of projects. By following the right steps and using the proper materials, you can elevate your plaster casting technique and produce high-quality results.
Throughout this article, we have covered essential aspects of plaster casting, including safety precautions, choosing the right plaster, proper mixing techniques, mold creation, pouring the plaster, finishing touches, and mold maintenance. By prioritizing safety measures, selecting the appropriate plaster type, achieving the ideal plaster-to-water ratio, and creating suitable molds, you can enhance the overall outcome of your plaster casting projects.
With practice, attention to detail, and the incorporation of expert tips and tricks such as using less water for stronger casts and employing colorants for creating colored casts, you can elevate your skill level and achieve impressive results. Remember to seal the plaster surface before painting, utilize release agents, and properly clean and store your molds for optimal performance and longevity.
By mastering these plaster casting techniques and developing your own unique style, you can create beautiful and intricate castings that will impress and inspire others. Plaster casting offers endless possibilities for artists and crafters, allowing them to unleash their creativity and bring their visions to life.
FAQ ( Frequently Ask Question)
What is plaster casting?
Plaster casting is a technique used in various art and craft projects to create casts by pouring plaster into molds.
Why is Plaster of Paris a popular choice for casting?
Plaster of Paris is a low-cost and reusable casting material that is easy to work with and can be used for a variety of projects.
What type of plaster is recommended for casting?
CastRite Plaster and Qwickast Plaster Additive are recommended for achieving strong and hard castings.
What is the ideal ratio for mixing plaster for casting?
The ideal ratio is 3 parts plaster to 1 part water. Slowly add the plaster to the water and mix gently to avoid air bubbles.
How do you create a mold for plaster casting?
Different types of molds can be used, including waste molds, single-piece molds, and multi-piece molds. A release agent should be used on the original sculpture.
How do you pour plaster into a mold for casting?
Pour the plaster into the deepest part of the mold and gently tap the mold to release any air bubbles. Let the cast dry for a minimum of 1 hour before removing it from the mold.
How do you finish a plaster casting?
Clean any rough edges or imperfections using stainless steel modeling tools. Smooth out remaining rough patches with sandpaper. Seal the surface before painting if desired.
How should plaster molds be cared for?
Plaster molds should be kept away from moisture and stored in a cool and well-ventilated area. Multi-piece molds should be kept tightly bound together to prevent damage.
What safety precautions should be taken when plaster casting?
Wear a dust mask and latex gloves to protect yourself. Avoid pouring excess plaster down the drain to prevent plumbing issues.
What are some tips and tricks for plaster casting?
Use less water for stronger casts, add colorants for colored casts, seal the surface before painting, and use a release agent on the mold.
What is the conclusion of plaster casting techniques?
Plaster casting is a versatile and affordable technique that, with practice and attention to detail, can produce beautiful and intricate casts.
Leave a comment